3DPrinting
3DPrinting is a place where makers of all skill levels and walks of life can learn about and discuss 3D printing and development of 3D printed parts and devices.
The r/functionalprint community is now located at: !functionalprint@kbin.social or !functionalprint@fedia.io
There are CAD communities available at: !cad@lemmy.world or !freecad@lemmy.ml
Rules
-
No bigotry - including racism, sexism, ableism, homophobia, transphobia, or xenophobia. Code of Conduct.
-
Be respectful, especially when disagreeing. Everyone should feel welcome here.
-
No porn (NSFW prints are acceptable but must be marked NSFW)
-
No Ads / Spamming / Guerrilla Marketing
-
Do not create links to reddit
-
If you see an issue please flag it
-
No guns
-
No injury gore posts
If you need an easy way to host pictures, https://catbox.moe/ may be an option. Be ethical about what you post and donate if you are able or use this a lot. It is just an individual hosting content, not a company. The image embedding syntax for Lemmy is 
Moderation policy: Light, mostly invisible
view the rest of the comments

Try printing a 1 layer thick print to work out the Z offset
For example in Cura I’ll import a cube, the scale it to be X: 40mm Y: 40mm Z: .25mm
Set your initial layer flow to something like 105%
Give that a print and see how the gaps line up.
What you’re going for is what can be seen here in the Example section from the great Ellis’s tuning site (I highly recommend checking it out as you get more comfortable since it may be a little too in-depth if you’re just starting)
https://ellis3dp.com/Print-Tuning-Guide/articles/first_layer_squish.html
You want just enough “squish” that the each layer lines are touching to bond but not so much that it has to be pushed up and around the nozzle.
Basically you’ll print that, and the back the nozzle away from the bed until you get the right spot.
Get that right and you’ll find it gets easier to get successful prints
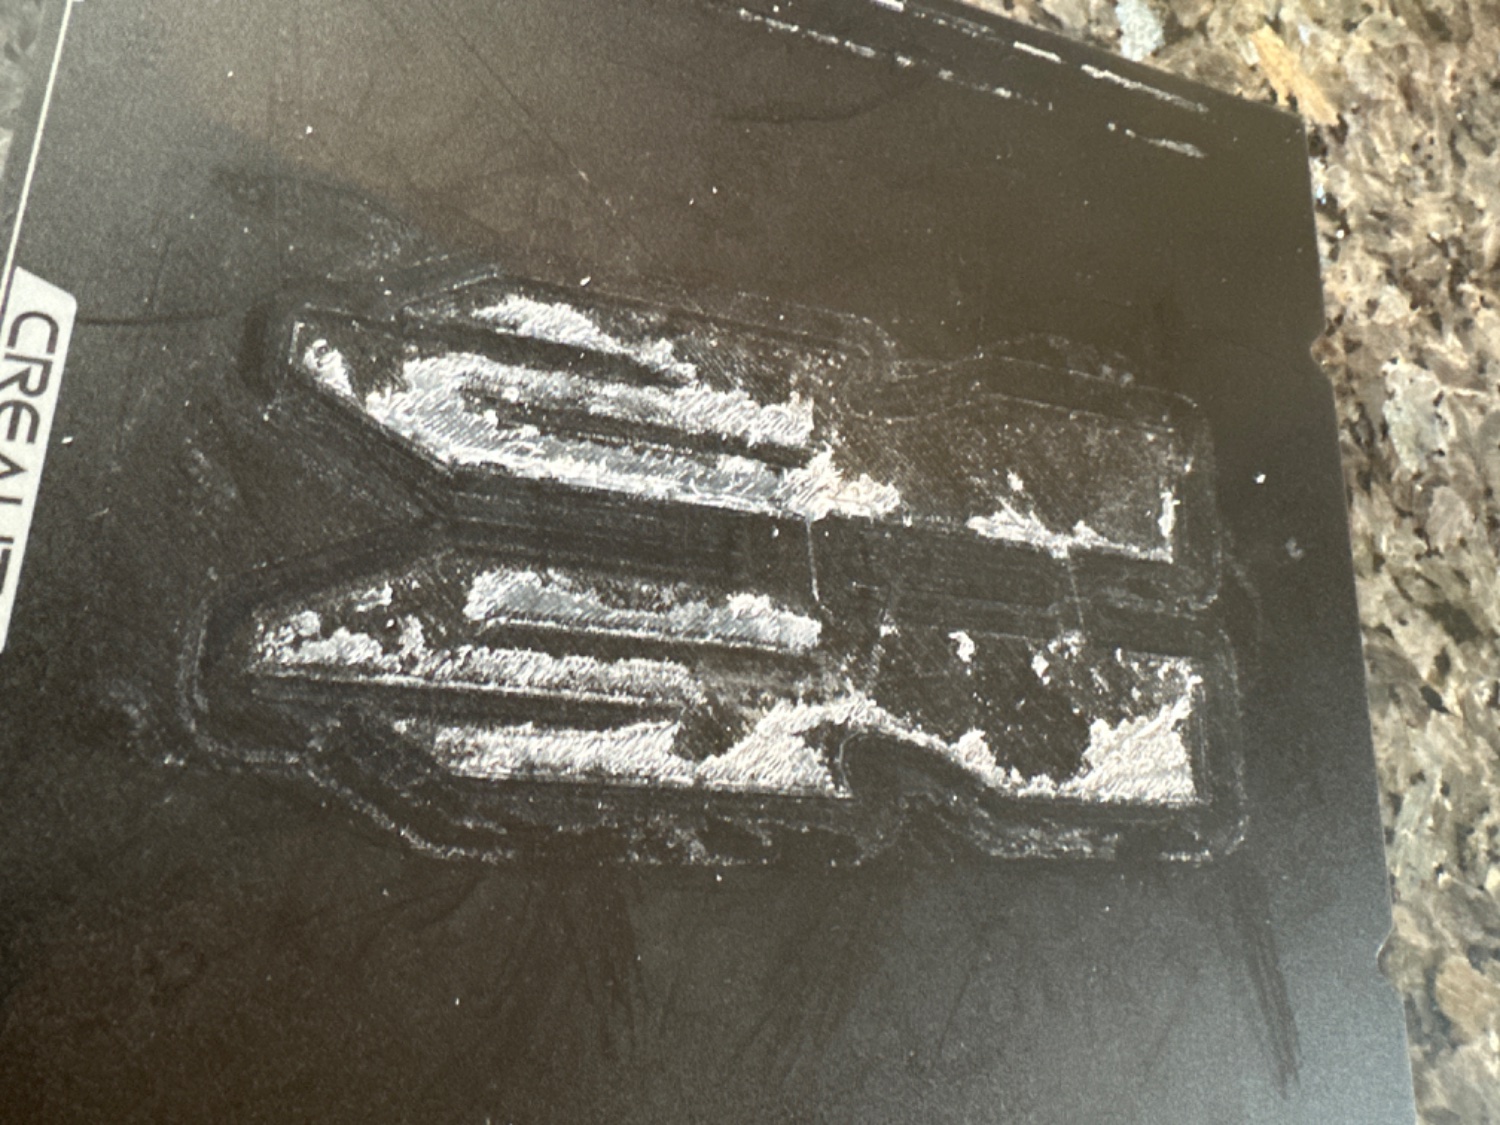
Thank you! This is exactly what I needed. I’ve ordered a replacement surface and I will go through this all on the weekend.
I really appreciate you taking the time to help. Cheers!
It may be scuffed but you can try and clean it up.
Worst case you figure out how to get the nozzle just right on an unaffected piece before you get the new surface.
You’ll have to slightly adjust the offset anyway since the new surface won’t be exactly the same but you can get much closer to it being right.
And, worst case, err on the side of being too far and down dial it in closer
This is what I was thinking too. It is so stuck it will take a couple hours to get it all off, but at least I can test with it.
One thing that worries me is that I had so many successful prints with exactly the same settings and filament I don’t know how it got this bad. I’m hoping I can prevent the same mistakes next time so I don’t ruin another surface.
Wouldn’t hurt to check that the bed springs are not loose, belts have good tension, etc.
But unless it’s really bad I bet your print surface is usable.